How to Automate Email Follow Up With Mailgun Webhooks
Mailgun is an email API service for developers. Mailgun makes it possible for users to send emails and manage email subscriptions using their API. For a deeper dive, check out our guide to Mailgun webhooks features and best practices.
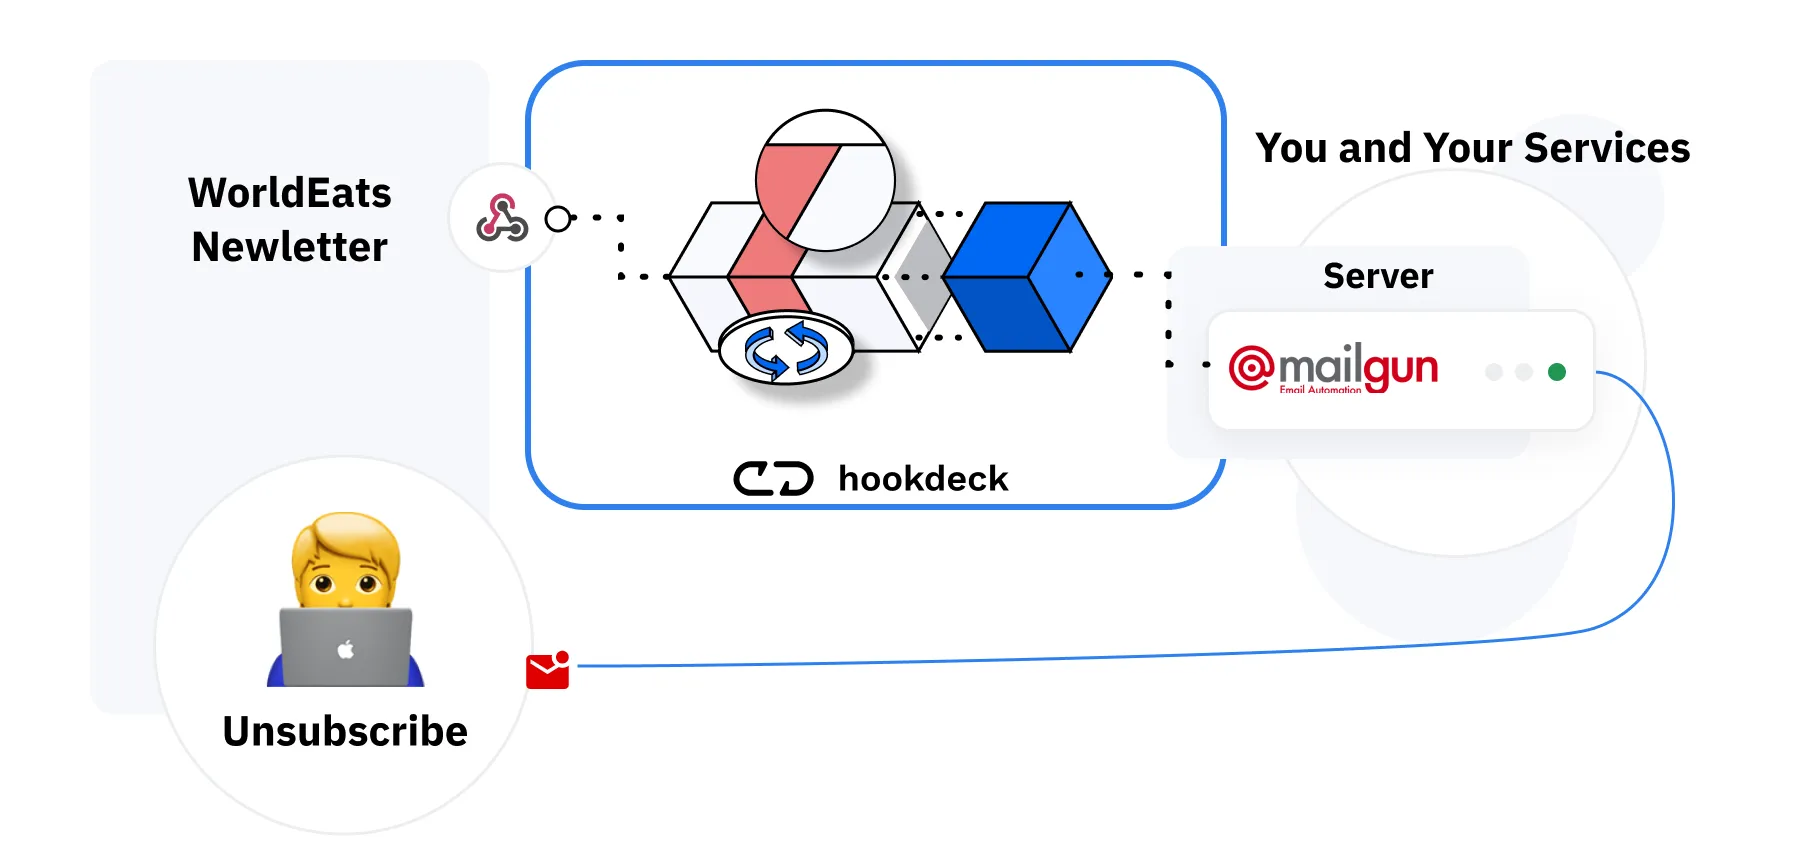
In this guide, we will build a service to help our imaginary friend Joe who manages a newsletter called WorldEats via Mailgun. Recently, Joe noticed a sudden spike in the number of people who were unsubscribing from his newsletter. Let's help Joe understand the reasons behind his newsletters unsubscription by building a service that sends a follow-up email to a user right after they unsubscribe from WorldEats.
The service we're building will hook into Mailgun's webhooks offering to get notified when a user unsubscribes from the newsletter and responds by sending a follow-up email.
 After this post, you should have a better understanding of:
- Configuring Mailgun webhooks
- Sending emails programmatically using Mailgun
- Deploy the integration in production
Setting up the integration Mailgun Integration
Creating A Simple Web Server
The first step to build the service is to create a web server. This web server will receive webhook notifications when a user unsubscribes from the WorldEat's newsletter. We want to set up the server to sends a 200 OK response to the webhook provider as soon as it receives a notification. On top of that, we also have to add additional logic to parse the webhook notification and send an inquiry email when a user unsubscribes. We are using NodeJS and ExpressJS to build our server. Let's initialize a new NodeJS project and add the following lines of code to create the server.
const express = require("express");
const bodyParser = require("body-parser");
const app = express();

app.use(bodyParser.json());
app.use(bodyParser.urlencoded({ extended: true }));

app.post("/webhook", async (req, res) => {
  const Payload = req.body;
  res.sendStatus(200);
  console.log(Payload);
});

app.listen(3000, () => console.log("App is running on port 3000!"));
We've set up our local server. For us to complete the setup for Mailgun webhooks, we need an SSL secure public URL. You can use a tool like Ngrok to publish your local server to the web.
Configuring Mailgun Webhooks
Now that we have our web server ready to receive webhook notifications, let's configure Mailguns webhook to accept events as they occur.
To set up Mailgun webhooks:
- Head over to the dashboard and click the webhook navigation on the sidebar.
- On the webhook page, you can see previously created webhooks or create new webhooks. In our case, to build out the service, we need to create a new webhook.
- Click the add webhook button at the top of the webhook page to create a new webhook. For the event type, select unsubscribe from the dropdown list and fill the URL field with the URL of the server created above.
At this point, we finished configuring the webhooks! When someone unsubscribes from WorldEats' newsletter, we are going to receive a notification that will be logged in the console.
Sending Emails When an Event Is Triggered
Rather than logging the webhook payload to the console, we want to parse the incoming data, extract the user's email and send an inquiry email to the user.
To get started, install the official Mailgun client library for NodeJS by running the following command npm install mailgun-js. Next, create a separate file within your project directory and add the following lines of code.
const formData = require("form-data");
const Mailgun = require("mailgun.js");
const mailgun = new Mailgun(formData);

const sendMessage = (receiverEmail) => {
  const mg = mailgun.client({
    username: "api",
    key: "YOUR-MAILGUN-API-KEY",
  });
  mg.messages
    .create("domain.mailgun.org", {
      from: "WorldEats <WorldEats@domain.mailgun.org>",
      to: receiverEmail,
      subject: "WorldEats Hates To See You Go!",
      text: "Hey there, We hate to see you go! Could you let us know why you unsubscribed from WorldEats",
    })
    .then((msg) => console.log(msg)) // logs response data
    .catch((err) => console.log(err)); // logs any error
};

export default sendMessage;
In the code snippet above, we created a new sendMessage function that takes in a receiverEmail and sends a message to that address using Mailgun.
Putting It All Together
At this point, we are almost done building out this service. The next step is to import the sendMessage function and invoke it when a webhook notification is received. To import the sendMessage function to your index.js file, add the following line of code to the top of the file import sendMessage from './email'. With the import in place, we need to invoke the sendMessage function within the /webhook route, passing in the receiverEmail address extracted from the webhook payload.
app.post("/webhook", async (req, res) => {
  const Payload = req.body;
  res.sendStatus(200);
  const receiverEmail = Payload["event-data"].recipient;
  sendMessage(receiverEmail);
});
The webhook handler should look similar to the above code snippet.
Before going to production
Now that we have a working integration, there are a few things we must talk about. Going to production has its challenges specifically with webhooks. Missing one or failing to properly synchronize has consequences. We published a whole guide to help you with this, you can find it right here.
Getting Ready For Production
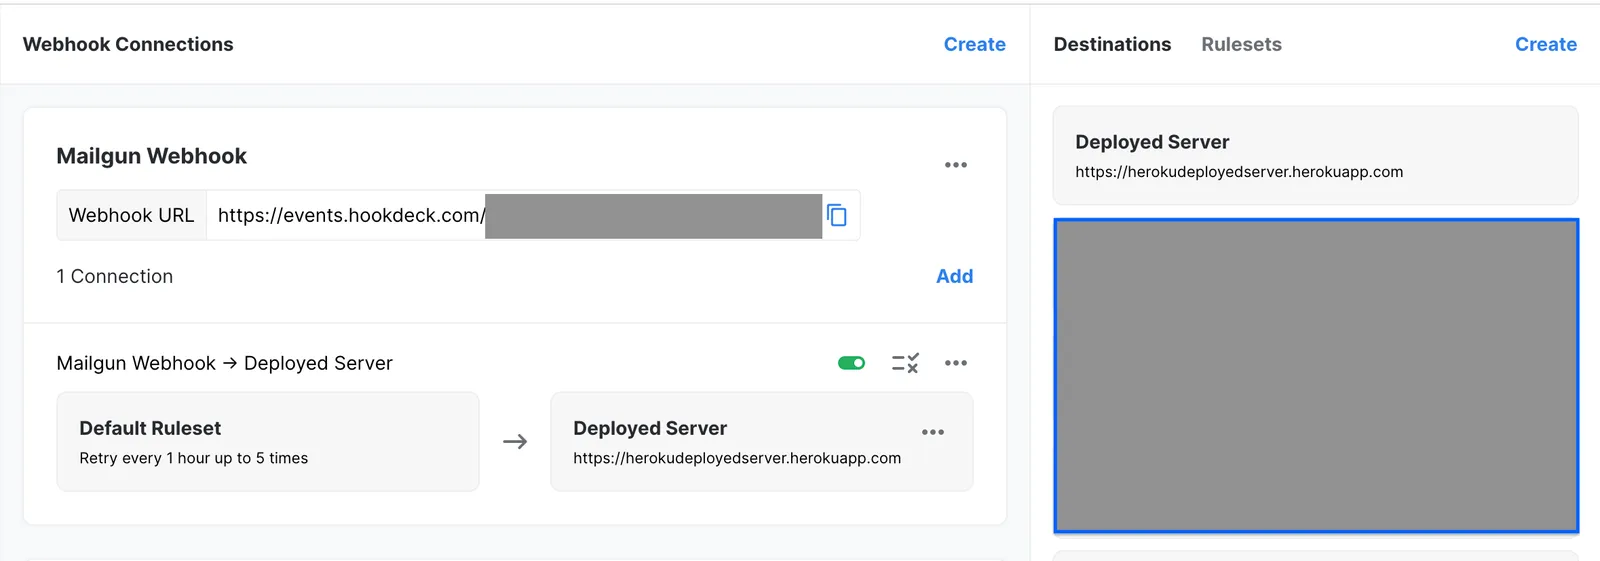
Let's first deploy the server on Heroku. Then, although our service currently works fine, it is not production-ready! Various unprecedented errors may occur and cause the server we created to miss webhook notifications. I'll use Hookdeck to manage the ingestion and error handling of the webhook connection to ensure I do not miss any webhook notifications.
Setting up Hookdeck
Sign in to Hookdeck and fill out the information for your webhook connection. Ensure that the destination URL you set in the Hookdeck dashboard is the URL endpoint of the newly deployed server.

Next, go ahead and replace the webhook URL on the Mailgun dashboard with the URL provided by Hookdeck.
Conclusion
Congratulations, we've built our service that sends an email to users when someone unsubscribes from WorldEats newsletters. With this, Joe will get more information to understand what's happening.
