Test Webhooks on Localhost with Hookdeck CLI Quickstart
In this quickstart, you'll learn how to test and debug webhook integrations on your localhost using the Hookdeck CLI. You'll set up a local development environment that receives real webhooks from webhook providers, inspect requests in real-time, and debug your webhook handlers without deploying code.
Learn the key concepts
Read the overview to understand how local webhook testing fits in your development workflow.
You will walk through these steps:
- Install and authenticate the Hookdeck CLI
- Start your local development server
- Connect the CLI to forward webhooks to localhost
- Send a test webhook and see it arrive locally
- Test with a real third-party provider
- Inspect and debug webhooks
- Retry webhook events
Setup the Hookdeck CLI and create a Hookdeck account
Install the Hookdeck CLI.
npm install hookdeck-cli -g
yarn global add hookdeck-cli
brew install hookdeck
-
scoop bucket add hookdeck https://github.com/hookdeck/scoop-hookdeck-cli.git -
scoop install hookdeck
-
Download the latest release's tar.gz file.
-
tar -xvf hookdeck_X.X.X_linux_x86_64.tar.gz -
./hookdeck
Run hookdeck login in your terminal to authenticate. If you don't already have a Hookdeck account, follow the instructions to create one.
hookdeck login
The CLI will open your browser for authentication. Once complete, you'll see a confirmation in the browser window and in your terminal.
Start your local development server
Set up a simple webhook handler on your local machine:
Run the following to get the code and install the app's dependencies:
git clone https://github.com/hookdeck/quickstarts.git
cd quickstarts/typescript/inbound
npm i
Then, run the application:
npm run dev
You will see output as follows:
> inbound@1.0.0 dev
> nodemon index.ts

[nodemon] 3.0.1
[nodemon] to restart at any time, enter `rs`
[nodemon] watching path(s): *.*
[nodemon] watching extensions: ts,json
[nodemon] starting `ts-node index.ts`
🪝 Server running at http://localhost:3030
Get the Hookdeck quickstart code:
git clone https://github.com/hookdeck/quickstarts.git
cd quickstarts/python/inbound
Create a new virtualenv, activate it, and Install the application dependencies:
virtualenv venv
source venv/bin/activate
pip install -r requirements.txt
Run the app:
python app.py
The output will look as follows:
python app.py
 * Serving Flask app 'app'
 * Debug mode: on
INFO:werkzeug:WARNING: This is a development server. Do not use it in a production deployment. Use a production WSGI server instead.
 * Running on http://127.0.0.1:5000
INFO:werkzeug:Press CTRL+C to quit
INFO:werkzeug: * Restarting with stat
WARNING:werkzeug: * Debugger is active!
INFO:werkzeug: * Debugger PIN: 530-477-256
Get the Hookdeck quickstart code:
git clone https://github.com/hookdeck/quickstarts.git
cd quickstarts/go/inbound
Run the app:
go run .
The output will look as follows:
[GIN-debug] [WARNING] Creating an Engine instance with the Logger and Recovery middleware already attached.

[GIN-debug] [WARNING] Running in "debug" mode. Switch to "release" mode in production.
 - using env:   export GIN_MODE=release
 - using code:  gin.SetMode(gin.ReleaseMode)

[GIN-debug] POST   /webhook                  --> main.main.func1 (3 handlers)
🪝 Server running at http://localhost:3030[GIN-debug] [WARNING] You trusted all proxies, this is NOT safe. We recommend you to set a value.
Please check https://pkg.go.dev/github.com/gin-gonic/gin#readme-don-t-trust-all-proxies for details.
[GIN-debug] Listening and serving HTTP on :3030
Get the Hookdeck quickstart code:
git clone https://github.com/hookdeck/quickstarts.git
cd quickstarts/dotnet/inbound
Run the app:
dotnet run
The output will look as follows:
dotnet run
Building...
info: Microsoft.Hosting.Lifetime[14]
      Now listening on: http://localhost:3030
info: Microsoft.Hosting.Lifetime[0]
      Application started. Press Ctrl+C to shut down.
info: Microsoft.Hosting.Lifetime[0]
      Hosting environment: Development
info: Microsoft.Hosting.Lifetime[0]
      Content root path: {path}
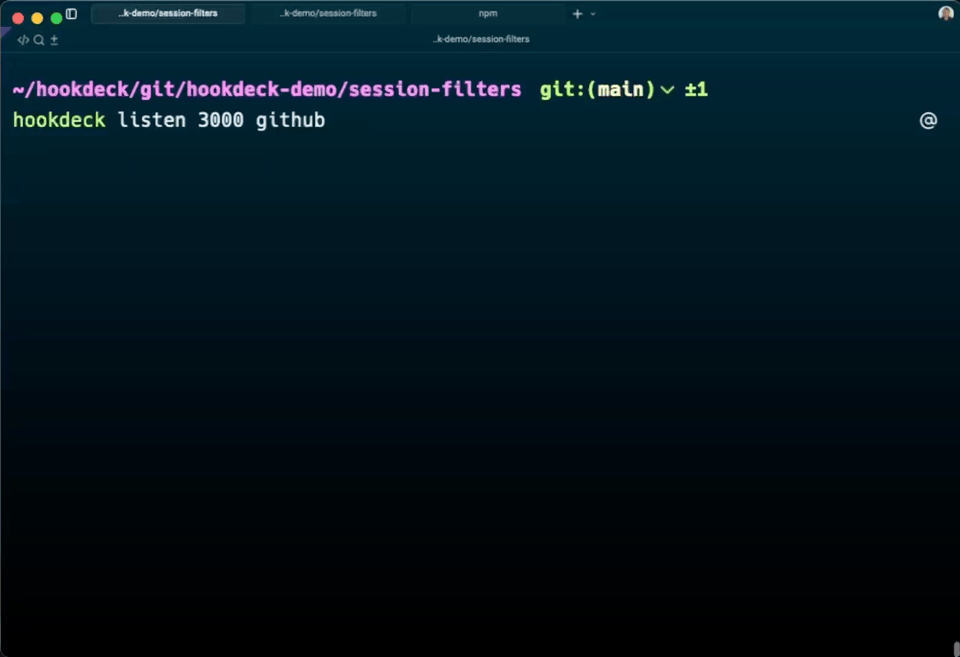
Connect the CLI to your local server
With your local server running, start the Hookdeck CLI to get a public URL to be used as the webhook endpoint with your webhook provider and to forward webhooks to your local server:
In a new terminal window, run:
hookdeck listen 3030 test-webhooks --path /webhook
You'll see output like:
●── HOOKDECK CLI ──●

Listening on 1 source • 1 connection • [i] Collapse

test-webhooks
│  Requests to → https://hkdk.events/src_{source_id}
└─ Forwards to → http://localhost:3030/webhook

💡 View dashboard to inspect, retry & bookmark events: https://dashboard.hookdeck.com/events/cli?team_id=...

Events • [↑↓] Navigate ──────────────────────────────────────────────────────────

> Waiting for events | [i] Expand connection info • [q] Quit
What this does:
- Creates a Source named
test-webhooksthat represents the webhook sender (Stripe, Shopify, GitHub, or any webhook provider). Use URL prefixed with "Requests to" (the Source URL) as the webhook URL with your provider. - Creates a Destination named
cli-test-webhooksthat defines where webhooks are delivered. It forwards incoming webhooks to your local server athttp://localhost:3030/webhookvia the CLI. - Creates a Connection that routes events from the Source through the CLI Destination to your machine.
Keep this terminal window open. The CLI needs to stay running to forward webhooks.
Send a test webhook
Now that everything is connected, send a test webhook to see it arrive on your local server:
In a third terminal window, send a test webhook to your Source URL:
curl --location '{YOUR_SOURCE_URL}' \
--header 'Content-Type: application/json' \
--data-raw '{
  "type": "order.updated",
  "timestamp": "2023-11-18 17:25:15",
  "email": "customer@example.com",
  "description": "Hookdeck Growth plan",
  "plan_id": "growth",
  "payment_status": "paid"
}'
Replace {YOUR_SOURCE_URL} with the Source URL (the one prefixed with "Requests to" in the terminal output).
What happens:
- Hookdeck receives the webhook at your Source URL
- Hookdeck tunnels the event to the CLI
- CLI logs the event in your terminal
- CLI forwards the request to your local server at
http://localhost:3030/webhook - Your server processes the webhook and returns a response
You should see output in three places:
In your cURL terminal:
{
  "status": "SUCCESS",
  "message": "Request successfully handled",
  "request_id": "req_xyz789"
}
In your CLI terminal:
●── HOOKDECK CLI ──●

Listening on 1 source • 1 connection • [i] Expand

Events • [↑↓] Navigate ─────────────────────────────────────────────────

> 2025-10-27 16:51:39 [200] POST http://localhost:3000/webhook (11ms) → https://dashboard.hookdeck.com/events/evt_{id}
In your local server terminal:
{
  webhook_received: '2023-11-19T20:40:29.767Z',
  body: {
    type: 'order.updated',
    timestamp: '2023-11-18 17:25:15',
    email: 'customer@example.com',
    description: 'Hookdeck Growth plan',
    plan_id: 'growth',
    payment_status: 'paid'
  }
}
INFO:app:webhook_received 2023-11-19T20:40:29.767Z {
  "type": "order.updated",
  "timestamp": "2023-11-18 17:25:15",
  "email": "customer@example.com",
  "description": "Hookdeck Growth plan",
  "plan_id": "growth",
  "payment_status": "paid"
}
INFO:werkzeug:127.0.0.1 - - [19/Nov/2023 20:36:53] "POST /webhook HTTP/1.1" 200 -
2024/01/12 16:41:45 webhook_received: {
  type: 'order.updated',
  timestamp: '2023-11-18 17:25:15',
  email: 'customer@example.com',
  description: 'Hookdeck Growth plan',
  plan_id: 'growth',
  payment_status: 'paid'
}
{ webhook_received = 2024-09-27T10:25:03.0830880Z, body = {
    "type": "order.updated",
    "timestamp": "2023-11-18 17:25:15",
    "email": "customer@example.com",
    "description": "Hookdeck Growth plan",
    "plan_id": "growth",
    "payment_status": "paid"
} }
Retry webhook events
One of the most powerful features for local development is event retry. Once Hookdeck has captured a webhook, you can retry it to your local server instantly.
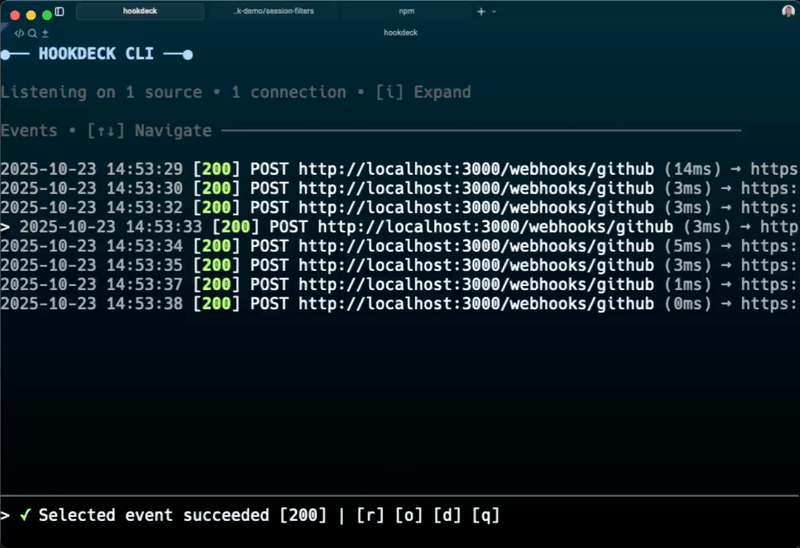
The CLI provides instant retry through keyboard shortcuts:
In your running CLI session, use the interactive controls:
- Navigate events: Press
↑or↓to select the event you want to retry - Retry: Press
rto instantly retry the selected event to your local server - View details: Press
dto see full request/response data
The selected event is indicated by a > character. When you press r, the webhook is immediately retried to your local server, appearing in your CLI output and server logs.
You can also retry events from the Hookdeck dashboard by clicking the Retry button on any event.
Inspect and debug webhooks
The CLI provides powerful debugging tools right in your terminal.
Use the interactive CLI controls to inspect webhooks:
- Press
dto view full request/response details for the selected event - Press
↑/↓(ork/j) to navigate between webhook events - Press
oto open an event in the dashboard for deeper inspection
For advanced debugging workflows, troubleshooting, and production best practices, see the complete guide.
Test with a real provider
Now that you've tested with manual webhooks, connect a real third-party provider:
Register your Source URL with your webhook provider (Stripe, Shopify, GitHub, etc.). The specific steps depend on the provider - check their documentation for "webhook configuration" or "webhook URL".
Trigger an event in the provider's platform (create an order, push code, etc.).
Watch as the real webhook flows through Hookdeck and arrives at your local development server.
Next steps
Now that you're successfully testing webhooks locally, explore more advanced topics:
Advanced CLI Usage & Troubleshooting
Learn about testing failure scenarios, advanced CLI features, and common issues
Configure Source Authentication
Learn how to set up authentication for your webhook sources
Configure Retry Behavior
Learn how to set up automatic retries for failed webhooks
Filter Webhook Events
Route only specific webhook events to your handlers